rpi
Home Assistant, ESPHome, BMP280 - temperature and pressure monitoring.
List:
- raspberry PI 3 or newer raspberry pi - cost about €43.09
- ESP32 esp32 - cost about €3.5
- microSD card - cost about €10
- sensor BMP280 - temperature, pressure bmp028 - cost about €1.5
- wires to connect ESP32 with BMP280
- cable to power ESP32 micro usb
- ethernet cable
- wifi dongle
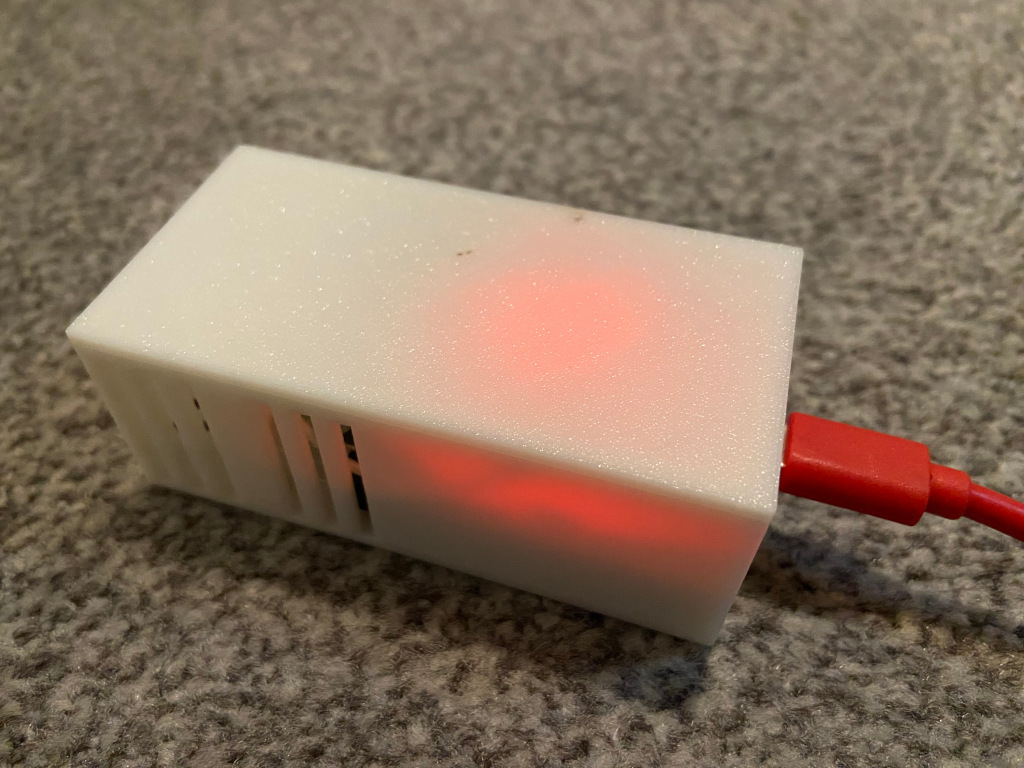
- optional case for esp32 and sensor, I've made one - you can look here https://github.com/karcio/stls/blob/main/esp32_sensor_bottom_v1.scad
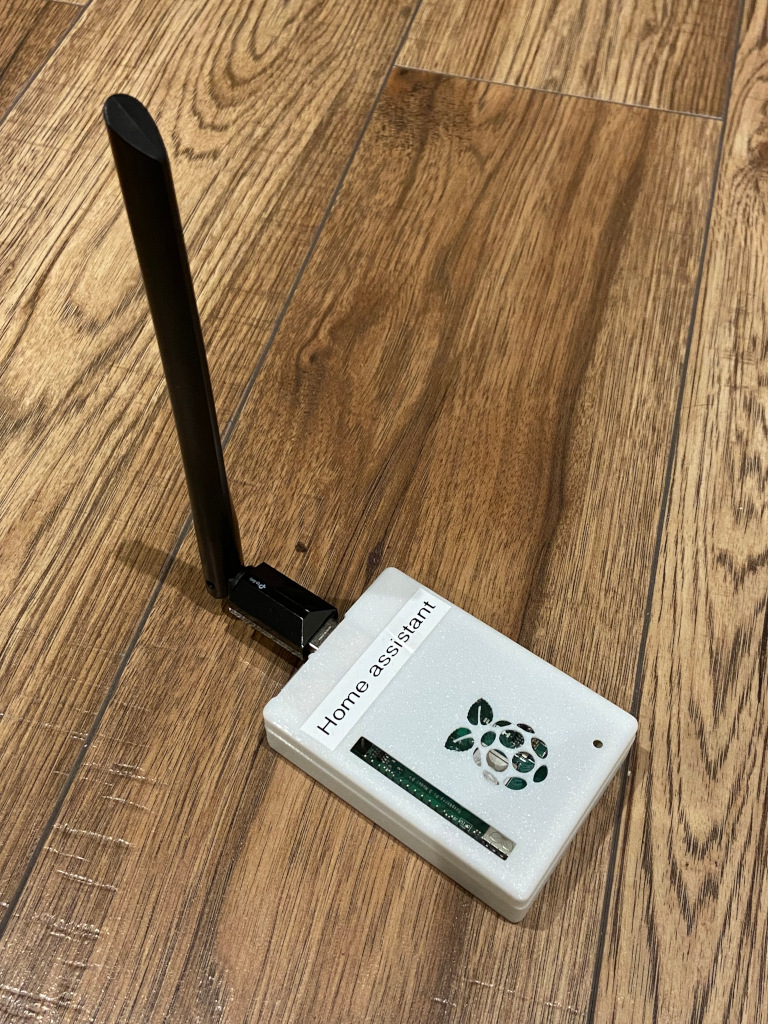
Raspberry Pi 3
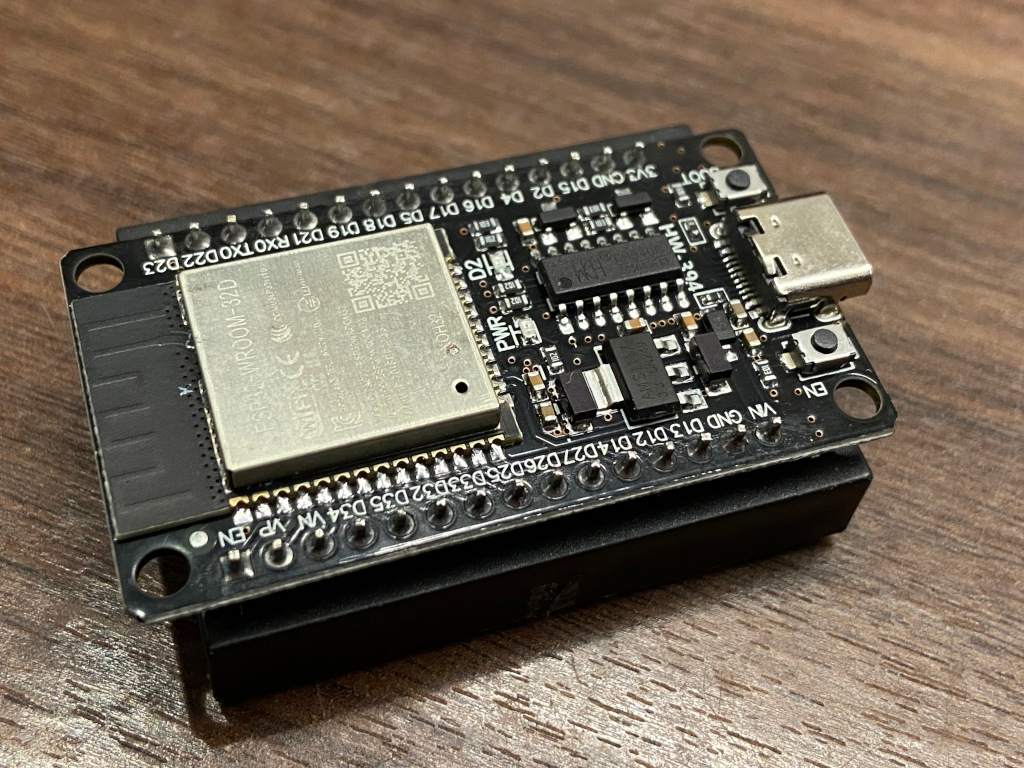
ESP32 controller
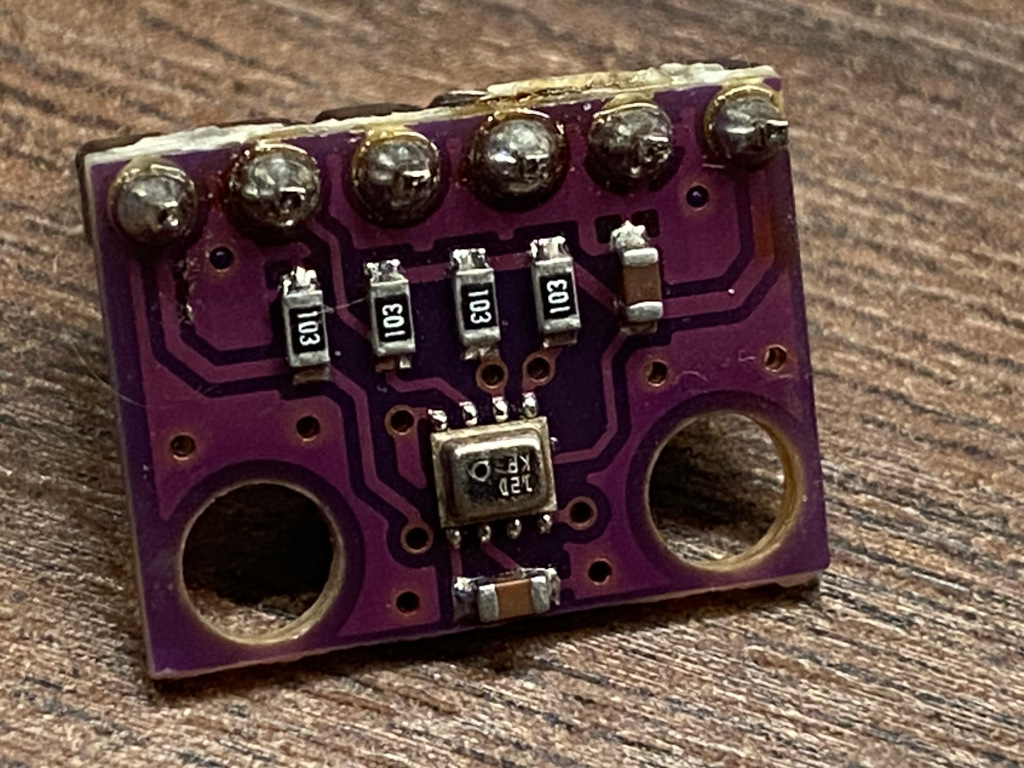
BMP280 sensor
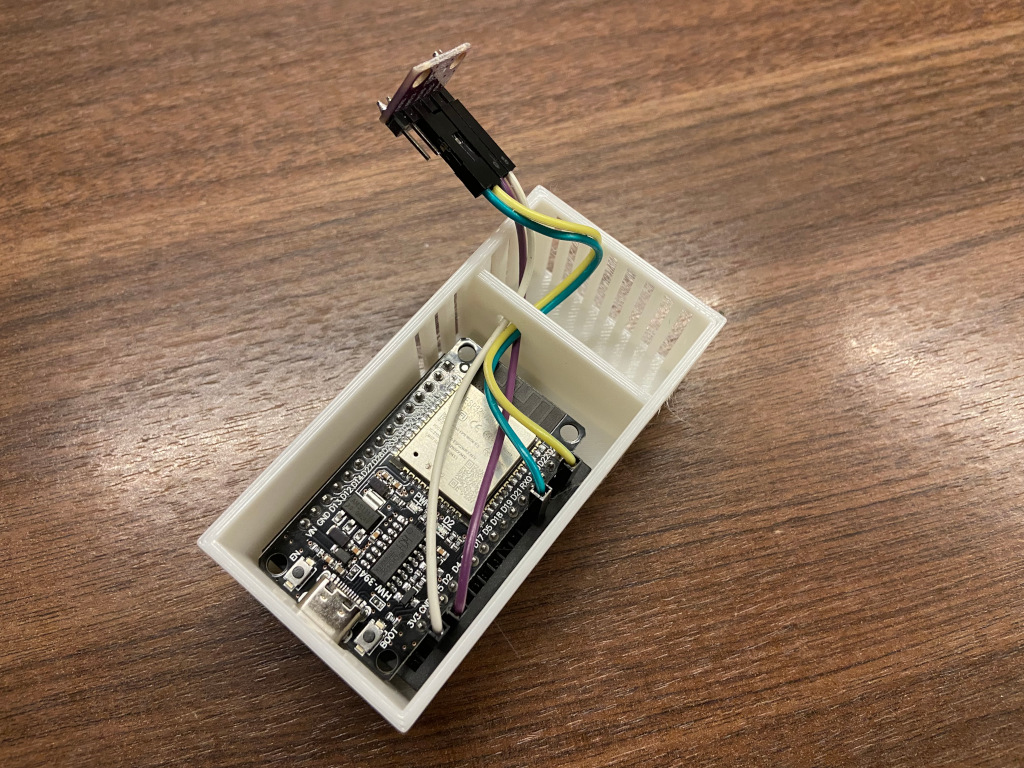
ESP32 custom case

Prepare image HAOS:
- download HAOS for your rpi from https://github.com/home-assistant/operating-system/releases/tag/13.0
https://github.com/home-assistant/operating-system/releases/download/13.0/haos_rpi2-13.0.img.xz
- unpack image
unxz haos_rpi2-13.0.img.xz
- insert sd card to your device and check how your machine recognize it - in mine case it is /dev/mmcbkl0
sudo fdisk -l
- flash your sdcard
sudo dd if=Downloads/haos_rpi2-13.0.img of=/dev/mmcblk0 status=progress bs=1M
First run HA
- insert sd card to RPI
- connect Ethernet cable
- insert WIFI dongle to usb port
- connect power to RPI and wait while for HA to run
- on your router check your rpi Ip address
- in web browser insert rpi Ip address with port 8123, http://your_rpi_ip:8123
- first create account
Setup wifi connection on first run:
- go to Settings > System > select Network and then wifi tab
- in ip4 select automatic
- in WI-FI scan network to find your network and insert SSID and password. Save after that
- reboot rpi to set up wifi
Install Add-ons:
- go to : Settings > Add-ons
- click in add and install esphome and File editor
- esphome allows you to use esp32
- file editor allows you to edit config files and check syntax
HA config structure
- configuration.yml
- automation.yml
- secrets.yml
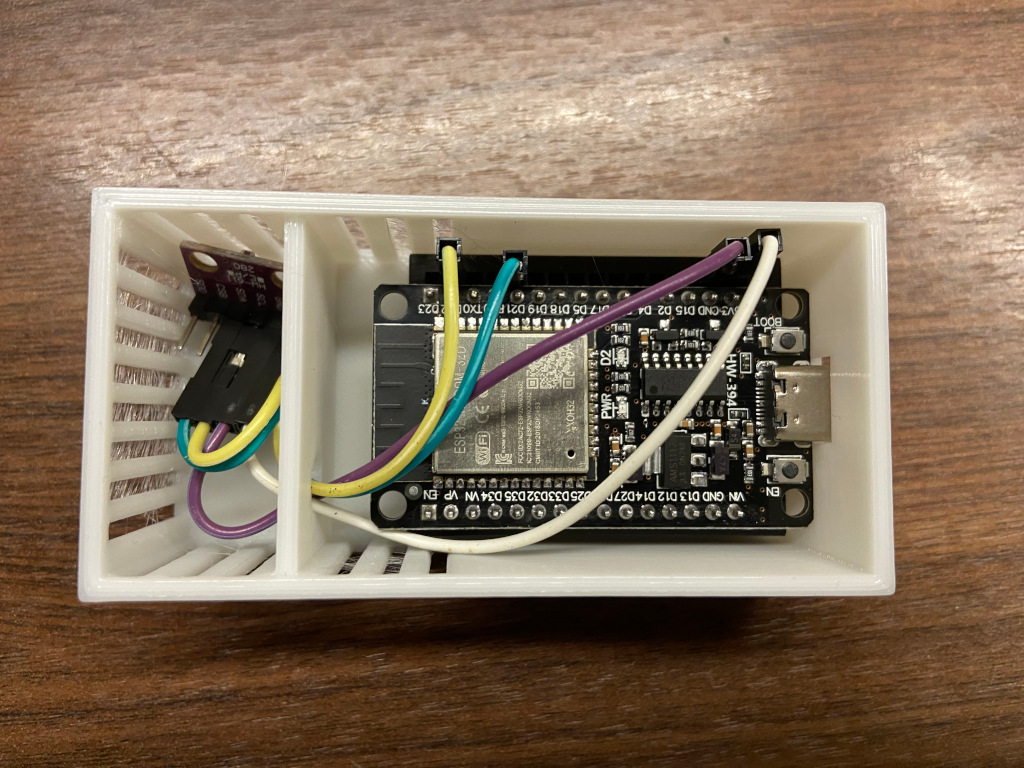
Connect BMP280 to ESP32
- BMP280 sensor has 6 pins but we use just 4: VCC, GRN, SCL, SDA
- connet pins as following:
- BMP280 VCC → ESP32 3V
- BMP280 GRN → ESP32 GRN
- BMP280 SCL → ESP32 D22
- BMP280 SDA → ESP32 D21
ESP32 and BMP280 final photos.
Connect esp32 to rpi for first initial flash
- connect esp32 using usb cable to rpi do RPI
- open ESPHome tab
- click on add new device
this is sample of config file:
esphome:
  name: esp32-01
  friendly_name: esp32-01

esp32:
  board: esp32dev
  framework:
    type: arduino

# Enable logging
logger:

# Enable Home Assistant API
api:
  encryption:
    key: "xxx"

ota:
  - platform: esphome
    password: "xxx"

wifi:
  ssid: !secret wifi_ssid
  password: !secret wifi_password

  # Enable fallback hotspot (captive portal) in case wifi connection fails
  ap:
    ssid: "Esp32-01 Fallback Hotspot"
    password: "xxx"

captive_portal:

i2c:
  sda: 21
  scl: 22
  scan: True

sensor:
  - platform: bmp280_i2c
    temperature:
      name: "bedroom temperature"
      oversampling: 16x
    pressure:
      name: "bedroom pressure"
    address: 0x76
    update_interval: 60s
This is how looks sample of automation config
alias: "Temperature"
description: low temperature level
trigger:
  - platform: state
    entity_id:
      - sensor.temperature
    to: null
    for:
      hours: 0
      minutes: 30
      seconds: 0
condition:
  - condition: or
    conditions:
      - condition: numeric_state
        entity_id: sensor.temperature
        above: 25
      - condition: numeric_state
        entity_id: sensor.temperature
        below: 5
      - condition: numeric_state
        entity_id: sensor.temperature
        below: 0
action:
  - data:
      message: "Temperature is: {{ states('sensor.temperature')}} C"
      title: "Warning: temperature is {{ states('sensor.temperature')}} C"
    action: notify.email_notification
mode: single
Whole documentation is here: https://www.home-assistant.io/installation/raspberrypi
rpi.txt · Last modified: by karcio